Create a Professional Tiktok Video
- First off you will need these free platforms:
- Hitfilm Express – https://fxhome.com/product/hitfilm
- Download hitfilm express, if there are any questions or concerns of downloading it I have a link here
2. Handbrake – https://handbrake.fr/
3. 4K Video Installer
- 4K Video installer: https://www.4kdownload.com/products/videodownloader-42
- You will also need Dropbox.
- https://www.dropbox.com/home
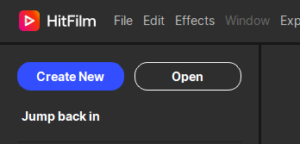
- First you want to click on create new in the top left corner of your screen.
- After you download hitfilm express next you want to go to Create New on hitfilm express.
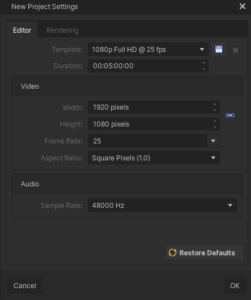
- Next you want to decide what your template is, I recommend 1080p if your computer can fully handle it, to get higher resolution you will need to upgrade to the premium version.
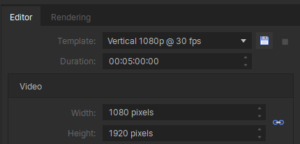
- If you want to make a video on instagram, youtube shorts, or any other phone related software. Find the “Vertical 1080p @ 30 fps” and click on it.
Once you decided what your template is click on “OK” in the bottom right corner of the video editor tab.
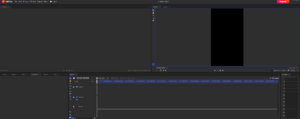
- Once you are in, your video editor system should look like this:
- In the corner here, you can see “File” I recommend clicking on it and saving
- Or you can hit Ctrl + S to save
- Once you save, a folder should come up like this, name whatever you want the file to be and click save.
- I recommend saving from time to time in the editing software, of course make sure to hit Ctrl + S from time to time in case it crashes, although it should auto save on majority of the time.
- As you can see, this is the whole setup and what we will need to use in order to create a professional video.
- In the bottom left corner you will find multiple options, library gives you music, sound effects, and templates
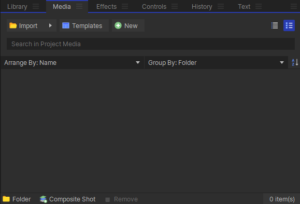
- Next what you will do is click on media and then import
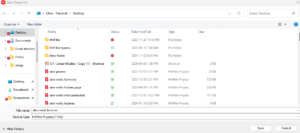
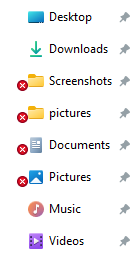
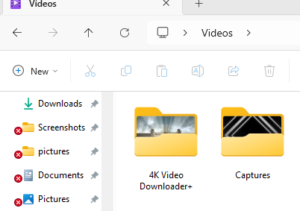
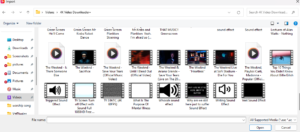
- Then click on videos or whatever folder you used to store your videos into through 4k Video Downloader.
- To use 4K video you click on the youtube URL, copy and paste it and put it in 4K and then it should automatically download the video.
- Once you click on download, search through and look for the 4k videos or videos you have made on your device or imported.
- If you don’t know how to record yourself, I recommend using OBS studio, it’s completely free.
- Here is a tutorial link here:
- Click on the folder that you want to put into your videos into
- Click on the video that you want to import into hitfilm to video edit
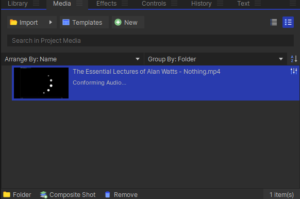
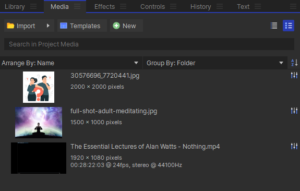
- Once you have clicked on the videos it should show up into your media settings here:
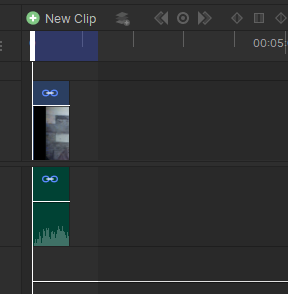
- Then you can click and drag it into the Editor: New clip section at the right.
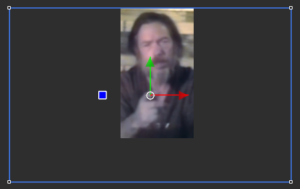
- Before you get anything done, remember to recenter your video on how it will look on the phone, we want this to be the first thing you do because if you cut all the video clips, it won’t be the way you want it positioned and you’ll have to restart/individually go to each video to rearrange the way you want it.
- Once it is in, you can now take full advantage of editing the video however you like!
- Now that you have your video in place, I recommend that you take a small section and cut it from where you want it to begin and to end. I will be doing a short form of phone video content, so here’s how I would personally do it.
- Also I recommend the small clip to be very engaging and interesting, something that stands out from the video or something very interesting that will keep an audience to keep on watching throughout the whole video till the end.
- Now when you have found the beginning of the video, I recommend you click Ctrl + Shift + D to make a cut in your preferred video.
- Now go to where you want it to end and click Ctrl + Shift + D again, this will create another cut.
- Once you have two cuts in your video, get rid of the ones that aren’t cut
- If you have deleted both of the clips that you don’t want to keep it, your video editing software should now look like this.
- Now that we have small details of it cut out, zoom into the video clips.
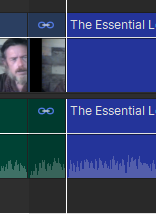
- Now as you can see, there are spaces in between the audio, I recommend cutting them out to shorten it.
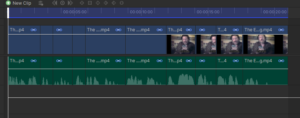
- Once it is shortened and put into place, it should look something like this!
- Now that you have cut your video, the next step we will do is add images and render them to move through the screen transparently, i’ll show you what I mean.
- I recommend going to a website that provides free images, like freepik or pixabay for example.
- Go into freepik and type and pick the image that you would like
- Once you find the image, free download it.
- Click on it and download, if there is an option to make the image smaller I would recommend small-medium.
- Once you have downloaded it go to your import section
- Click on import now, and then the image you want, you should find the image in your downloads or wherever you have put them into a folder.
- As you can see I have found this in my downloads, just click on the image and it should be imported right here:
- As you can see this is where all your images, videos, or files are all found here in this little import box.
- Click on an image and drag it just like you did with the video to the Editor section.
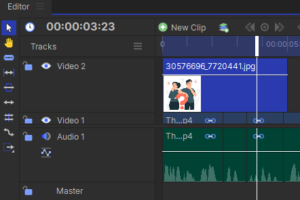
- Once you have dragged it, it should look like this.
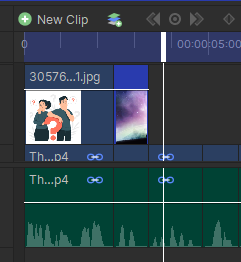
- The image is now in the video editor, to shorten it click on the near end of the where the picture ends in the editor and shorten the time frame you want the picture to be in the video.
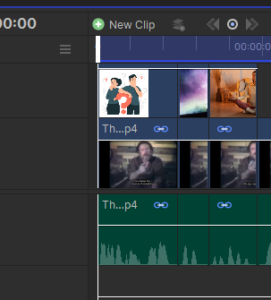
- It has now been shortened and I am adding more images to the video.
- Put the pictures where it connects with the video, for example if the video is talking about health, find a picture of someone working out, and add to wear they are talking about it in the little sections.
- Once you are done, we will now edit the pictures in the videos to make them stand out.
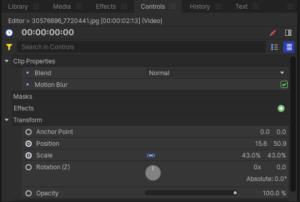
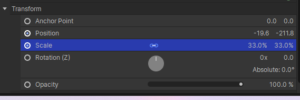
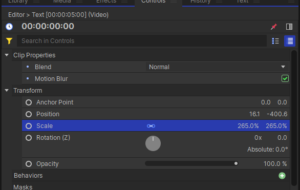
- We will be using the controls editor here.
- Anyways start at the beginning position of the video
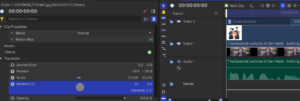
- Next once the starter for the video is at the beginning, i like to click on both Scale and Position, once you click it, this should come up,it should be filled inw ith a small blue dot.
- Once the small blue dot and position is filled in, go to near the end of the photo.
- While you are at the near end of the photo, scale the picture up a bit bigger, this should show the image of 0 now rendered up to whatever you positioned the scale to be throughout the video shot, in this case 40.0%
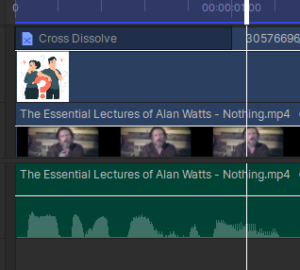
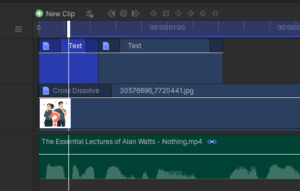
- I also like to add a cross dissolve at the beginning of the video, make sure to click and drag the cross dissolve to whatever picture you want it to be on.
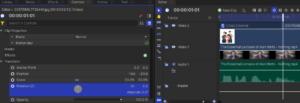
- So at the beginning of the video, I also like to make the images move. We will be able to make images move stationary through the “Rotation (Z)” settings.
- Click on the rotation button, it should now have a little blue dot in the middle of it.
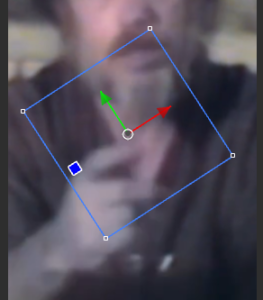
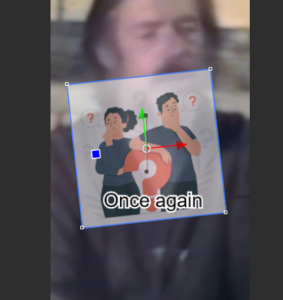
- Rotate it, like I did here I prefer you rotate it to -33.0 like I did in the picture above.
- Now the image should be at a slight angle.
- Now move the white timeline editor to when the cross dissolve ends
- Now as you can see, I moved it to the middle, click on rotation again and make it 0.
- You can click on the rotation settings to make it back to zero or however you want to rotate it.
- Now once you’ve done that you should have a moving image.
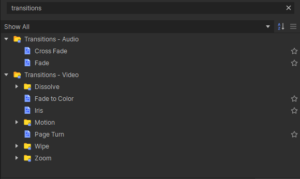
- Type in transitions to be able to see all the options, we will now use these so the video footage transitions in and out smoothly.
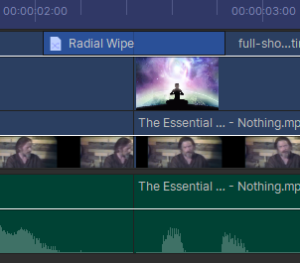
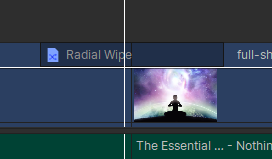
- Click on any of the transitions and click and drag it to where two videos are side by side, once you have done that it should look like this. That means the previous video will then transition to the next one.
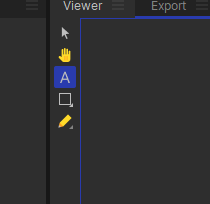
- Now we will talk about the text, to insert text click on the A.
- Once you click on the A, there should be a video pop up of it.
- Once you have edited your text, go to controls and scale it up for the text to be bigger.
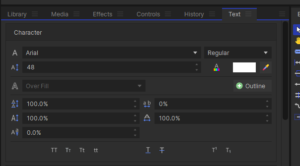
- Click on the text, this is where you can edit your text however you want it to be.
- How I make my text is I usually make the colour black with a outline of white.
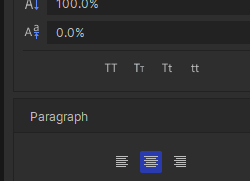
- Also remember to centre your paragraph, we want it to be like this so we don’t have to readjust it too much.
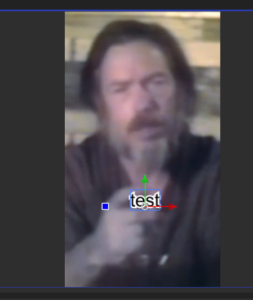
- Scale up your text and bring it to the centre of the video, it should look like this. Now that I have shown. Also I recommend you add 3 to 4 words synchronised shown in the text of each section, it will create some space and not make something overwhelming or too long to read. The shorter it is, the more it is able to capture someone’s attention because of how fast the text moves.
- What I also enjoy to add is the cross dissolve transition at the end of each text:
- This will give it the ability for the text to phase in and out making it transition more smoothly of course.
- Anyways back to the picture transition, I want the picture to fade on an angle so I will go back to the Editor settings.
- Type in 0.1` at the editing section for rotation.
- Now it should transition on an angle and move to that frame where you want it to go, you do the same thing for any of the position/scaling. Type 0.1 and transition it to the end to get the way you want it.
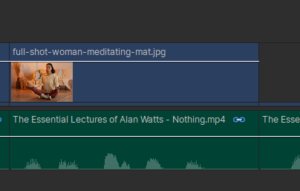
- Also I recommend you don’t do angels at inbetween transitioning videos like these:
- I usually recommend you do the angle movement when there is no video side by side like this:
- Now for the pictures I recommend making them transparent.
- Click on the white line to adjust the transparency, the picture in the image should now look like this:
- You can leave the image transparent if you want, I just recommend doing that because it gives more of a different/artistic feel to it, it will capture the audience’s attention because of its uniqueness and ability to stand out.
- Anyways now you have known all the basics, repeat this process with the videos and the pictures and you’ll get a full short: I’ll show you what it looks like when it’s finished so you can get an understanding of how to use these video editing basics and fully put it into a short video.
- Now once you have finished every picture and video editing. I recommend going to Pixabay, pixabay provides non-copyright music, although sometimes the creators change it to copyright, you won’t get a copyright strike because the majority of these songs are unknown.
- Find a song that you like and just click on the download button in the track section on the right.
- Now once you have found your song, import it in hitfilm from downloads or wherever you have stored it and click and drag it into the audio like this:
- Now that it’s put in there, if the audio is very long, shorten it to how you want it to be or wherever the video ends, also remember to adjust the music, click on the white line to adjust it louder or lower. Make sure the audio doesn’t go over the person talking in the current video. I have highlighted in red so you can adjust the volume easily:
- Also I highly recommend wearing headphones, this will make it easier to hear the audio and be able to mix the music in so it doesn’t turn out too loud over the person speaking. This will also help with making subtitles while the person is speaking, it will be easier to hear them.
- Type in fade on the search box and put fade to color on the video/pictures and put the audio fade on the bottom where the audio is, you will have to click and drag and adjust how long you want the fade to last.
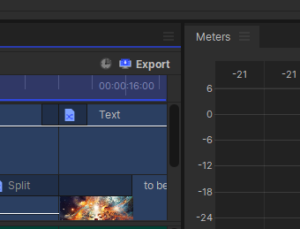
- Once you are satisfied and finished, go to export, click on In-To-Out area and it should start exporting!
- Also make sure the default present is on vertical videos, it is important to have the right default present so the video exports the way you want it. (to be like a phone screen in this case.)
- And that’s it make sure to check out my second video editing page for more viral tips, “How to Upload Your Youtube Shorts (& More)”
